Showing posts with label tutorial. Show all posts

May 28, 2010

Serger tutorial...ripping out a seam

Ugh. We've all done it...had to pretend we're in love with our seam ripper and lured them with cookies and ice cream so that they'll be our best friend and comply to all our requests.... Or maybe that's just how my relationship with my dear seam ripper goes. ;)

There is nothing worse than having to remove a serged seam. Now, you may ALL know how to rip out a serged seam, or maybe you never make mistakes ;) But maybe, just maybe, a few of you are just like me; you dive into something without thinking twice and later regret it because of all the seams you then have to remove, and you don't know the most efficient way to do it!

Here's how I do it. It's not pretty, I'm warning you now :) This may also be one of the more lame tutorials around, but if it helps even one person, then I may catch a break in the seam ripping karma department ;)

The culprit today, a neckline that was too big.

So, take your trusty seam ripper, and put it through the top half of the stitch


Photobucket

Photobucket

Keep going all the way around until you are done. Then open the seam just a bit and rip out a few small stitches:

Photobucket

Once you start to pull it apart a little, you will wind up with one longer thread...that's the one you get to pull:

Photobucket

See how it removed the whole line of thread that was sewn by one of your needles?

Photobucket

Keep doing this until you've gotten all your threads out. And then....ugh, you're left with this:

Photobucket

But do not fret! This thing is my savior (have you seen me use it as a vacuum before?)

Photobucket

With one swift roll...

Photobucket

Tada!

Photobucket

And that's how I rip out my serged seams. Uh, anyone know an easier way? ;)

xo,
Shari

April 24, 2010

Yesterday you met my serger...today is a Serger Tutorial!

I read a serger tutorial once online, and for the life of me I cannot find the link.

Well, it seems that many of you are sewing addicts, just like me, so I thought I would share my favorite serger tip: What to do with that long piece of thread that hangs off your seams!

I used to snip mine, and then they would fray. Then I started knotting them, but I'm no sailor. Now here is what I do, it's so easy!

So here's the culprit...long serger thread:

Photobucket

Go find the biggest needle you can find. One that isn't all sharp and pointy. I use a size 22 tapestry needle. Then stick it under/through the seam you just finished sewing:

Photobucket

Bunch up your long thread at the end, rolling it between your fingers a few times in order for all those threads to fit through the needle eye:

Photobucket

Pull your needle through, so that the long thread tail goes under all that stitching and comes out the end:

Photobucket

Snip close to the end:

Photobucket

Add Fray Block or Fray Check:

Photobucket

Tada! Seam is finished, long thread vanished, and no chance of it ever coming back to haunt you!

Photobucket

Hope this little tip helps you!

April 14, 2010

How to play with prints and colors....UPDATED with final product

Color and prints are amazing things. Usually, they work together, even when you least expect it to. But it does take a bit of work to get there.

Some people have been asking about how I get to the finished product for my 'mosaics.' It's really a game of trial and error, and kind of like one of those sliding mazes. Eventually, the pieces fit. :)

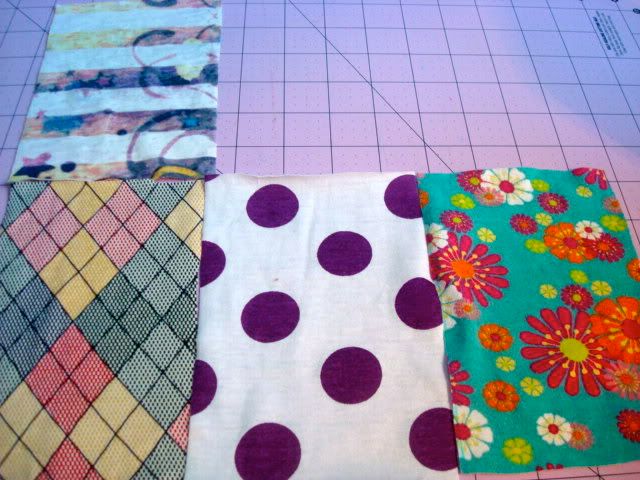
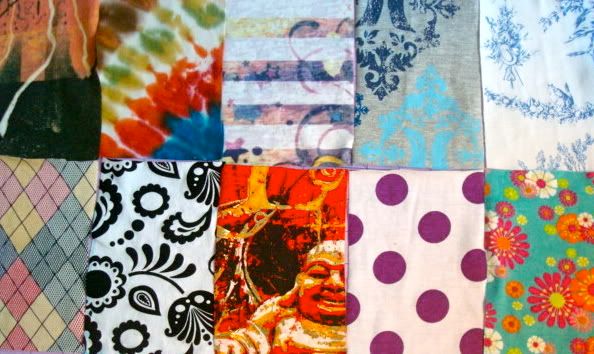
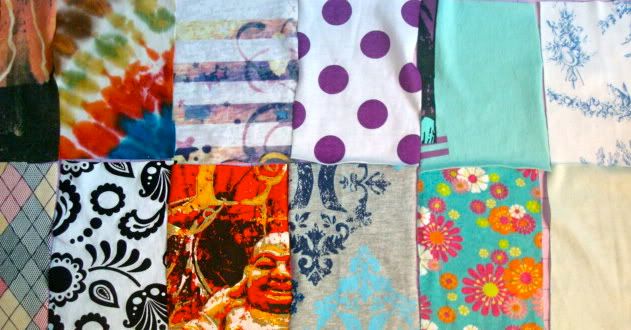
Here's a pile of fabric for example. This one happens to be a mix of prints and colors. I typically tend to create stacks of pre-cut fabrics that are organized by color scheme, as well as other piles that regardless of color, have amazing prints. Then whenever I go to create a dress I pull out the colors that I am wanting, as well as some incredible prints. But lets say all you have is a bunch of miscellaneous fabric like I do below.

Photobucket

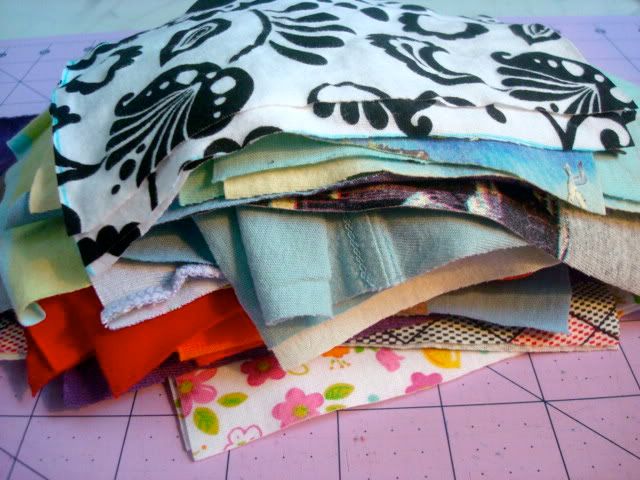
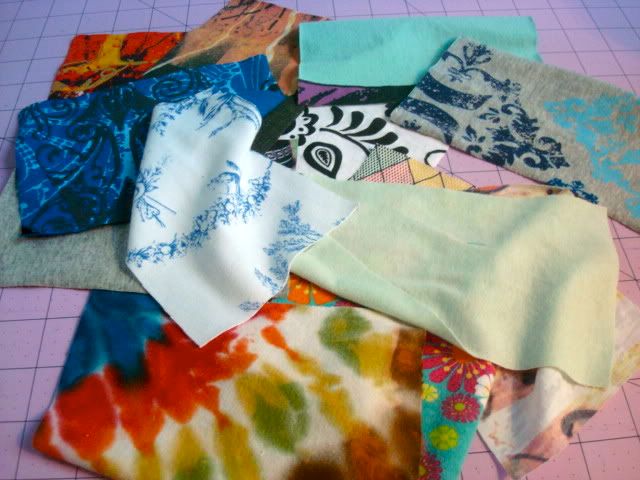
I go through it and pick out the squares (I know they are rectangles, but it just seems so much easier to call them squares!! ;) that 'speak' to me. Sounds hokey, I know, but that's how it is! ;) In this case I am making a size 5/6 skirt and I need 12 squares. So I pick a bunch out:

Photobucket

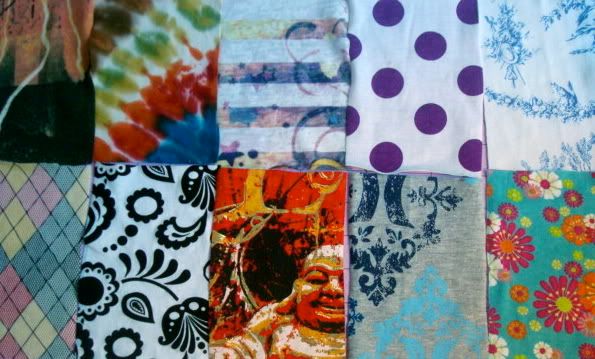
My next step is to start with the main squares. The ones that will be on the most visible spot of the skirt:

Photobucket

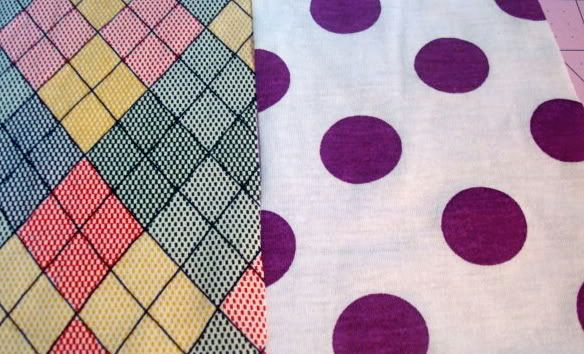
And start building from there:

Photobucket

Photobucket

Photobucket

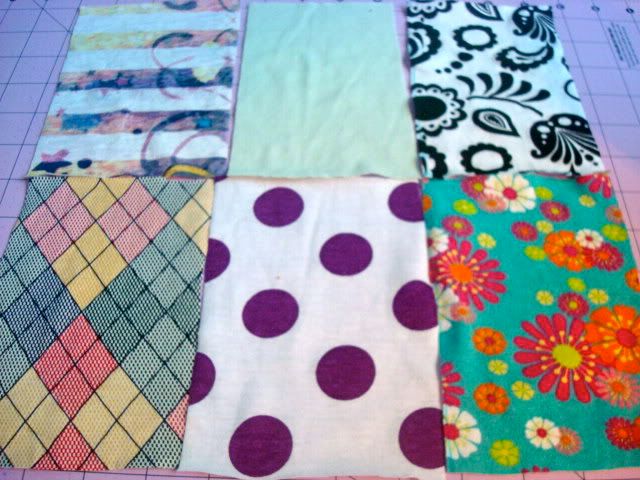
So the above image, something was bothering me. I didn't like how the black and white print, and the floral print right below it with interacting. The reason is because the two prints are approximately the same size and intensity. The key when mixing prints is to mix small with large, or soft with bold when they lay side by side. This way they are not competing. If they compete, all you want to do is look away. Not a good thing. ;) So I switched it up a little:

Photobucket

Photobucket

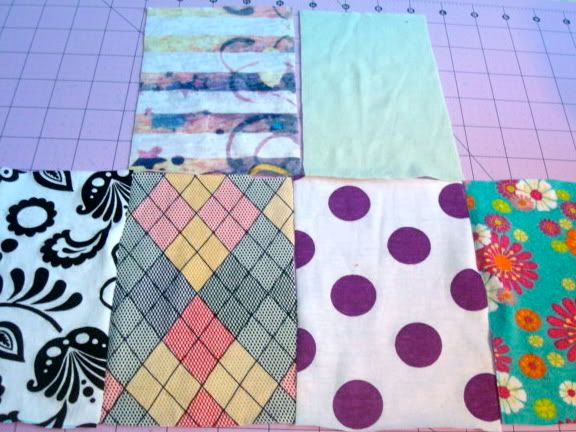
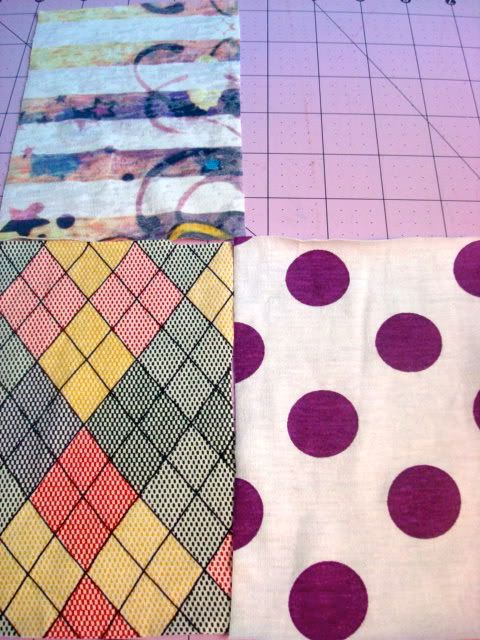
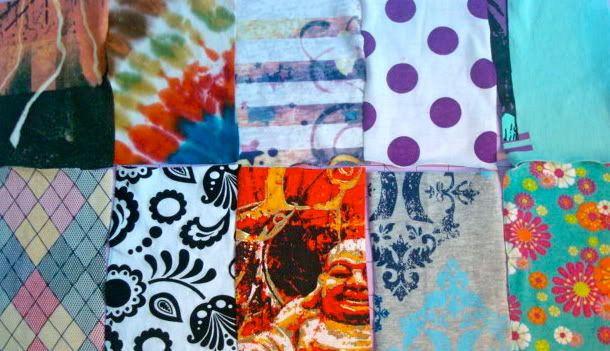
Now I really wanted to use this Buddha print in this skirt, and so I altered my original main two pieces (the argyle/diamond print and the polka dots) to include it:

Photobucket

But gosh, now the polka dots didn't work! So I switched it up again....

Photobucket

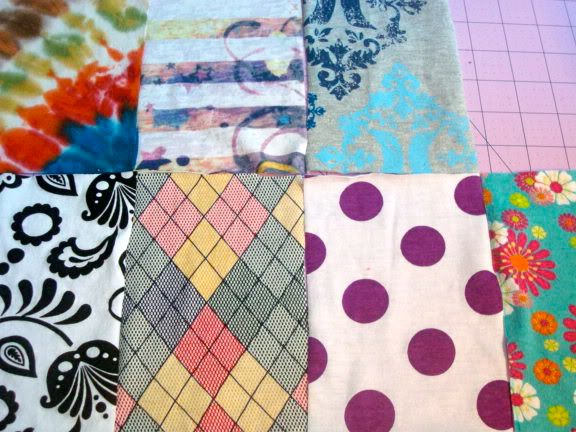
The toile and the polka dots above were too soft together making that side of the composition a bit bland, so I switched it up again:

Photobucket

But I was determined to get that toile in there (even though only a sliver of it will show in the final skirt) so then I reached the final layout:

Photobucket

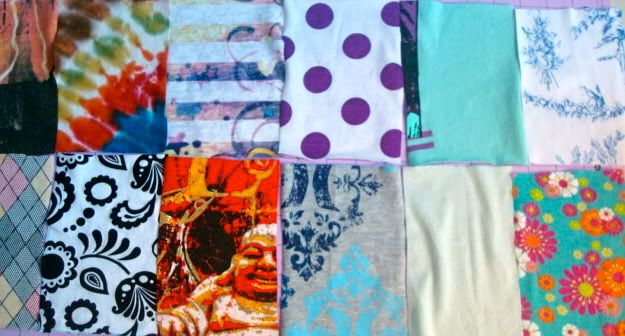
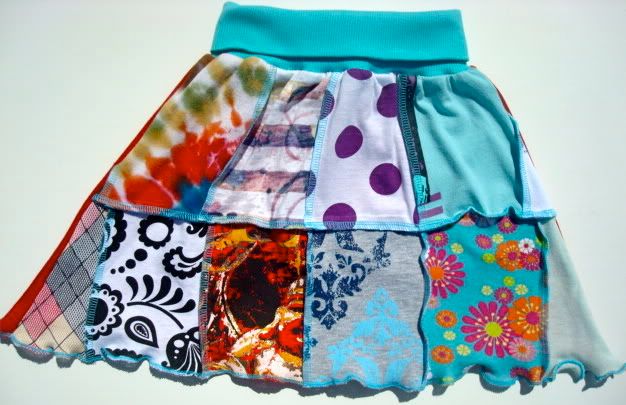
Well, I thought it was final. I usually step away from it for a few minutes and then revisit again. It needed a small tweak. I switched the bottom right two squares so that I didn't have two solids above one another.

Photobucket

Ta-da! :) And that, turns into.....

Photobucket

Photobucket

In art school they often teach you to turn your painting upside down and either work on it like that or just evaluate it like that. It's amazing how much that can help you see things differently! Though I don't turn these upside down, I do try to look at it with a fresh eye before sewing together...it's amazing how a few minutes can make you see things differently!