Some people have been asking about how I get to the finished product for my 'mosaics.' It's really a game of trial and error, and kind of like one of those sliding mazes. Eventually, the pieces fit. :)
Here's a pile of fabric for example. This one happens to be a mix of prints and colors. I typically tend to create stacks of pre-cut fabrics that are organized by color scheme, as well as other piles that regardless of color, have amazing prints. Then whenever I go to create a dress I pull out the colors that I am wanting, as well as some incredible prints. But lets say all you have is a bunch of miscellaneous fabric like I do below.
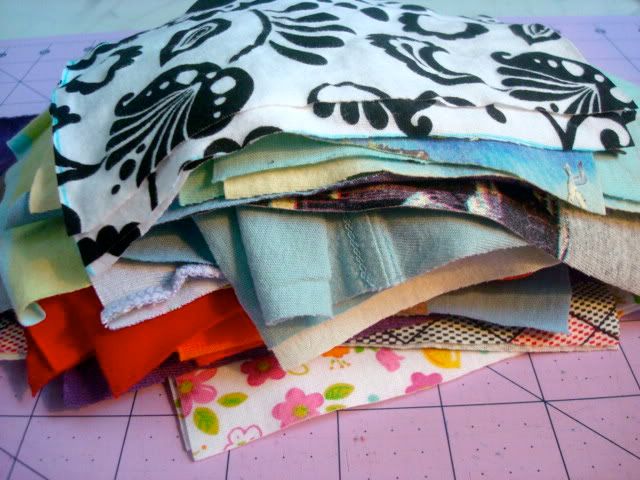
I go through it and pick out the squares (I know they are rectangles, but it just seems so much easier to call them squares!! ;) that 'speak' to me. Sounds hokey, I know, but that's how it is! ;) In this case I am making a size 5/6 skirt and I need 12 squares. So I pick a bunch out:
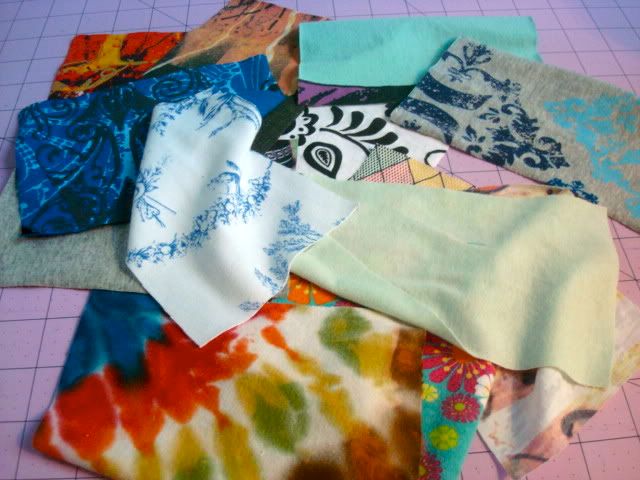
My next step is to start with the main squares. The ones that will be on the most visible spot of the skirt:
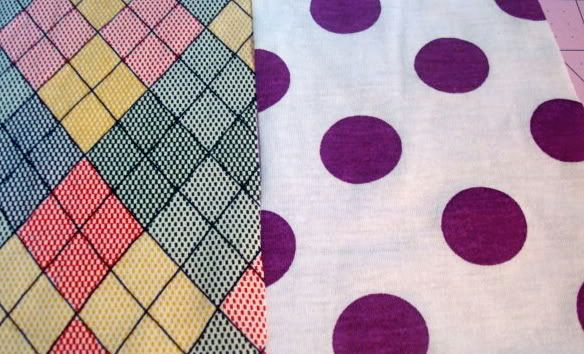
And start building from there:
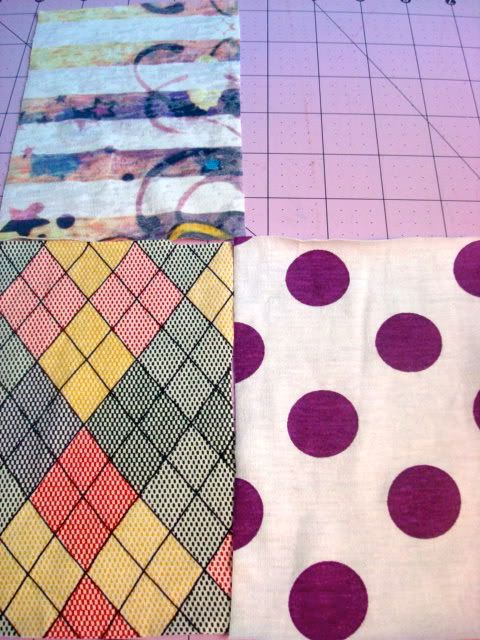
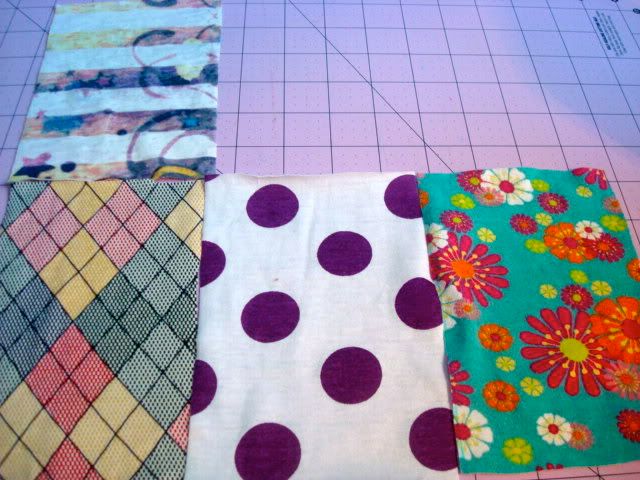
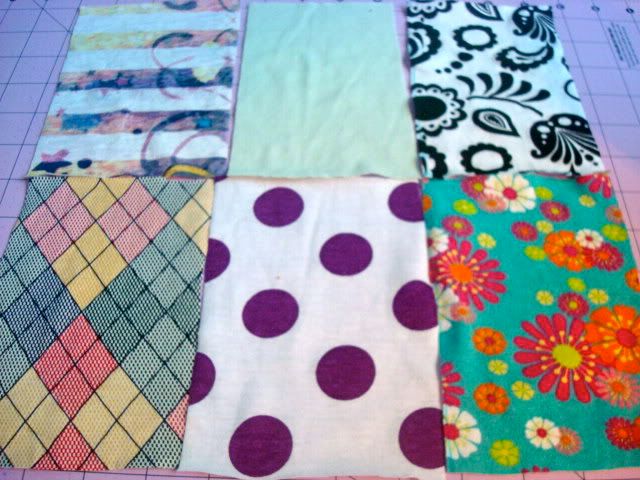
So the above image, something was bothering me. I didn't like how the black and white print, and the floral print right below it with interacting. The reason is because the two prints are approximately the same size and intensity. The key when mixing prints is to mix small with large, or soft with bold when they lay side by side. This way they are not competing. If they compete, all you want to do is look away. Not a good thing. ;) So I switched it up a little:
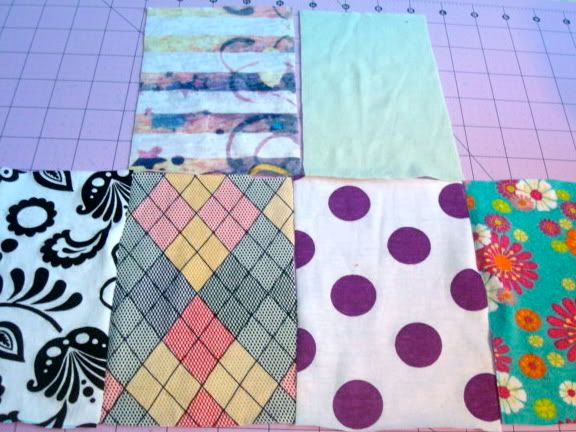
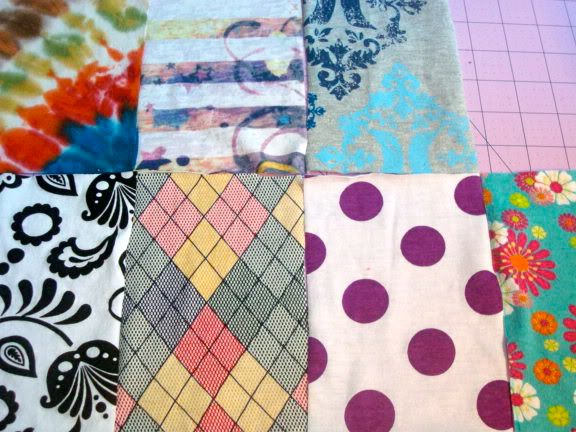
Now I really wanted to use this Buddha print in this skirt, and so I altered my original main two pieces (the argyle/diamond print and the polka dots) to include it:
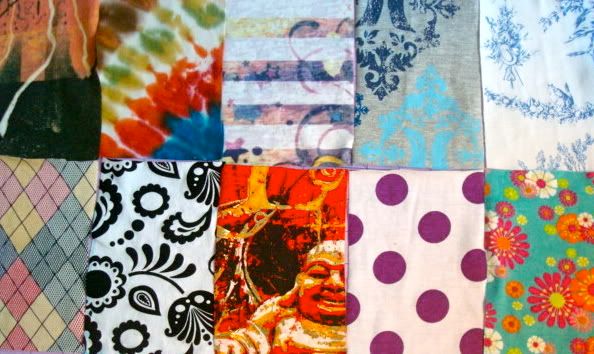
But gosh, now the polka dots didn't work! So I switched it up again....
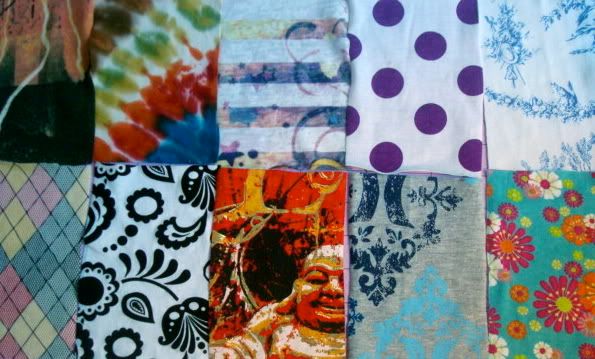
The toile and the polka dots above were too soft together making that side of the composition a bit bland, so I switched it up again:
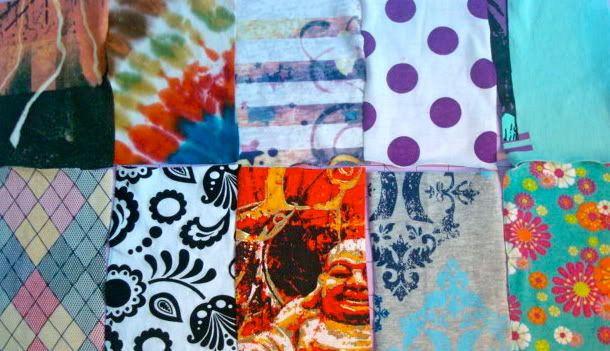
But I was determined to get that toile in there (even though only a sliver of it will show in the final skirt) so then I reached the final layout:
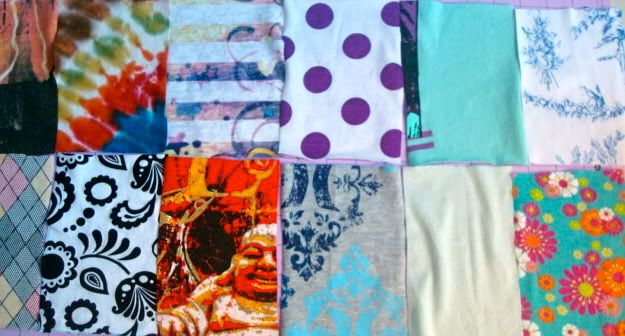
Well, I thought it was final. I usually step away from it for a few minutes and then revisit again. It needed a small tweak. I switched the bottom right two squares so that I didn't have two solids above one another.
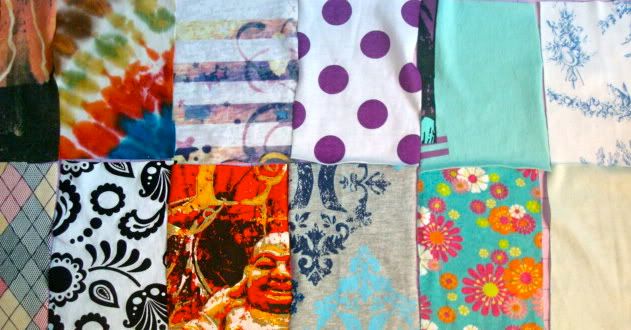
Ta-da! :) And that, turns into.....
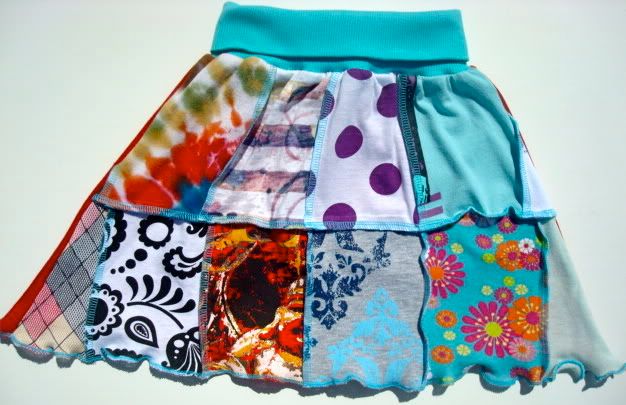

In art school they often teach you to turn your painting upside down and either work on it like that or just evaluate it like that. It's amazing how much that can help you see things differently! Though I don't turn these upside down, I do try to look at it with a fresh eye before sewing together...it's amazing how a few minutes can make you see things differently!

Great job putting all of those thoughts and decisions into words! It was really fun to read!
ReplyDeleteThank you for this! I loved seeing how your mind works :)
ReplyDeletefound you through li'l blue boo - darling clothes! I love your honesty and obvious adoration for daughter and husband. Keep up the good work!
ReplyDelete